Login
Wallboard users can login using their team accounts or their individual active directory accounts to Comstice Wallboard. All the settings are saved against the username used, therefore it is important to note which account is used during login.
Wallboard Server 1: http://10.230.20.237
Wallboard Server 2: http://10.231.20.232
Widget View
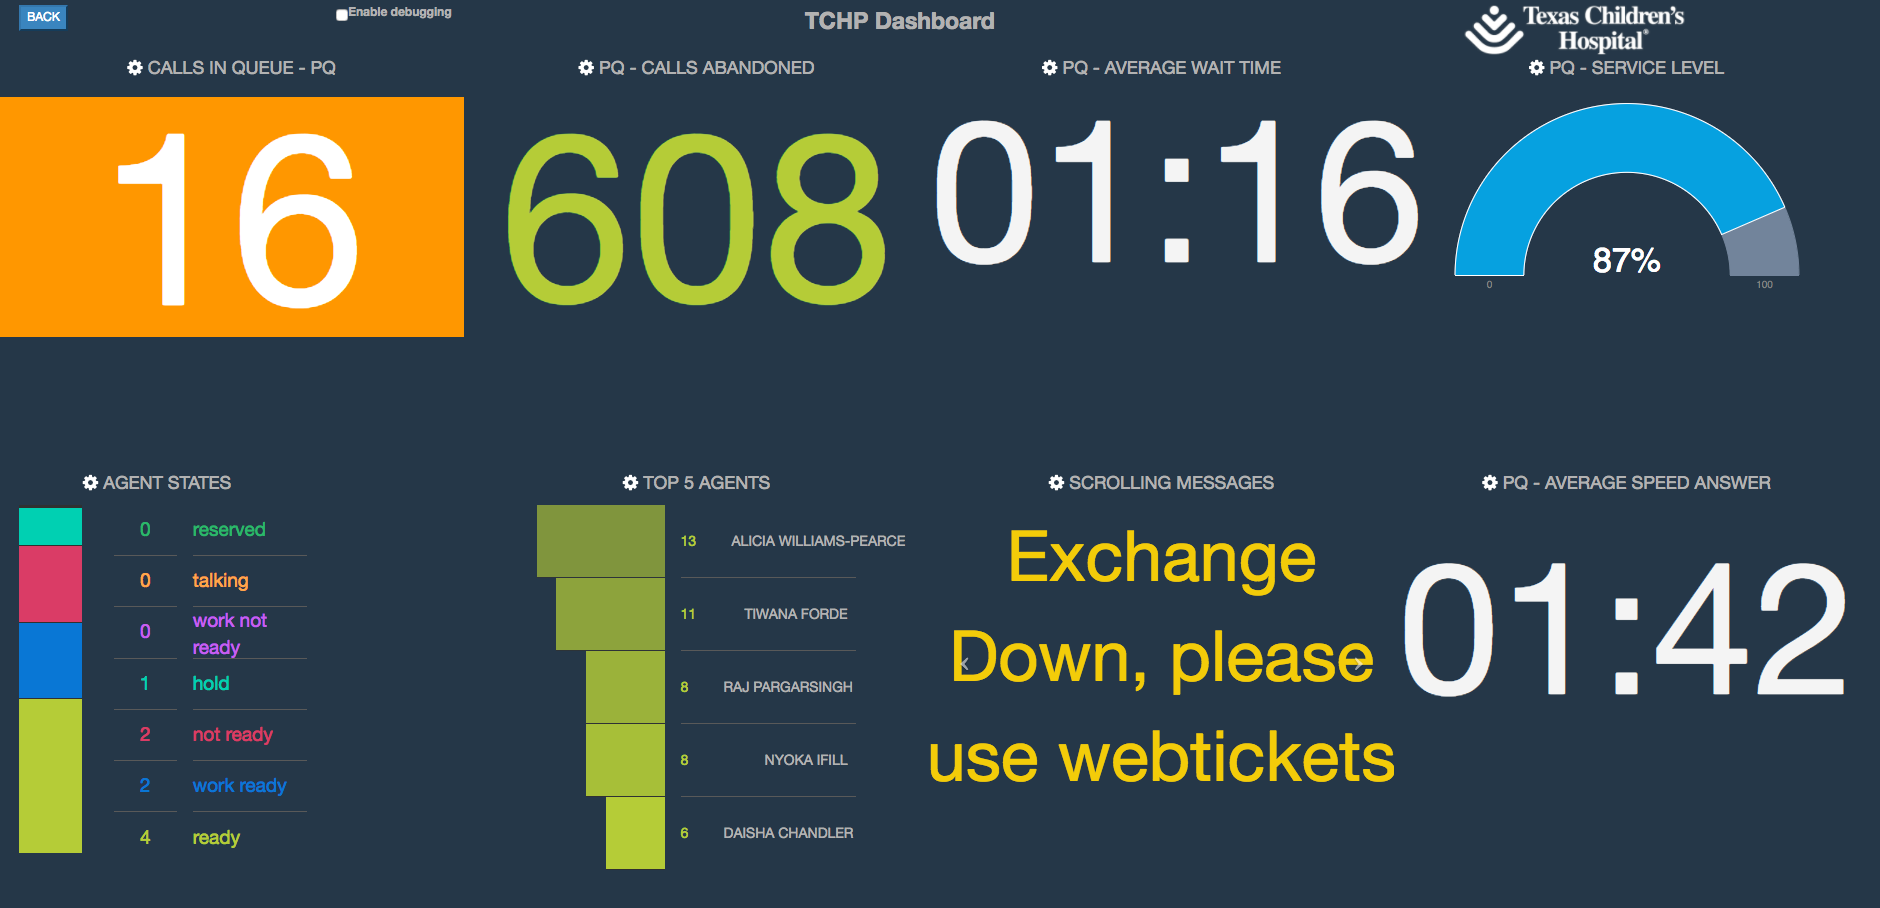
Once logged in, you will be able to access many templates available on the side menu. However, you can create your own dashboards and add many features using the Widget View option. It is under Wallboard > Widget View
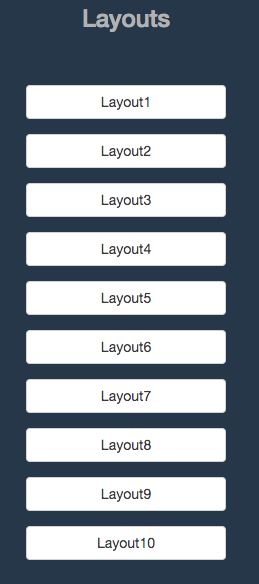
Widget View offers various layout options. Each layout is composed of up to eight boxes. You can create and save multiple layouts and run them as a slideshow on a single screen.
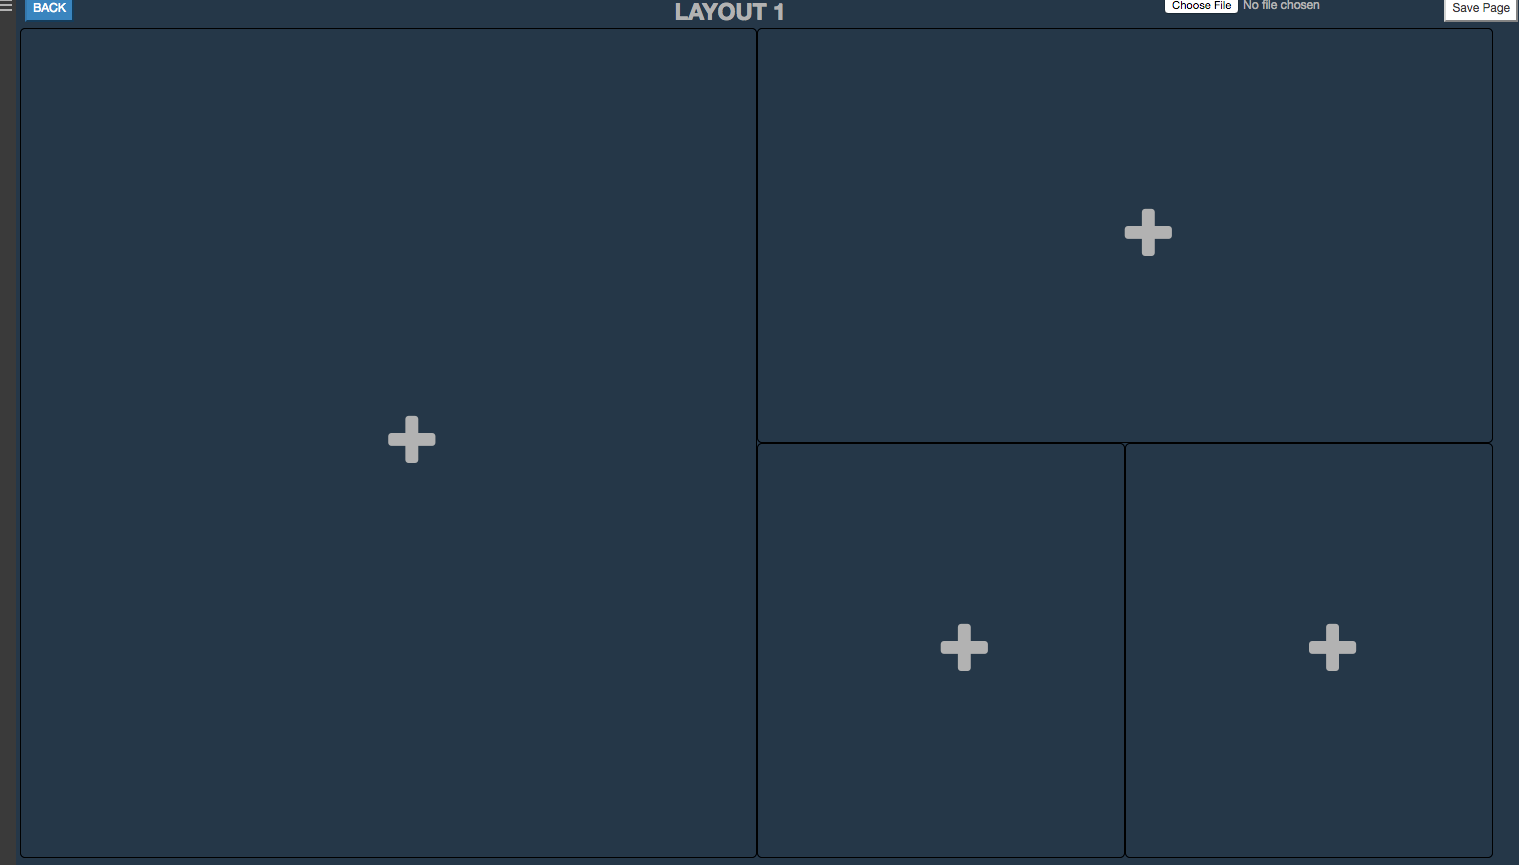
Once you select the layout, you can add a widget to each box in the layout.
It is also possible to add company logo to the top right corner of the dashboard.
Below, you can see the details of each layout;
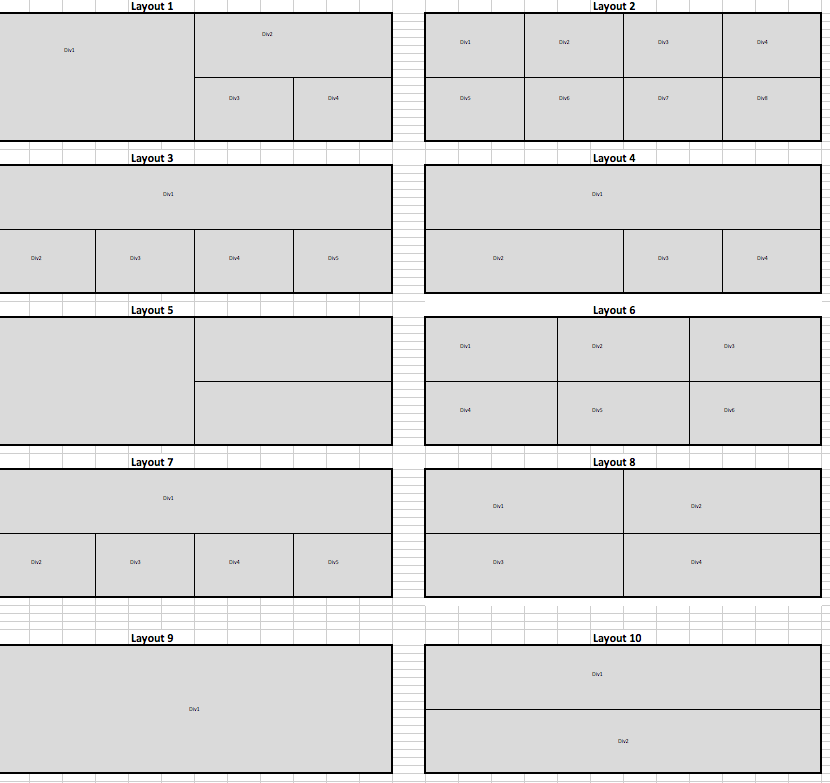
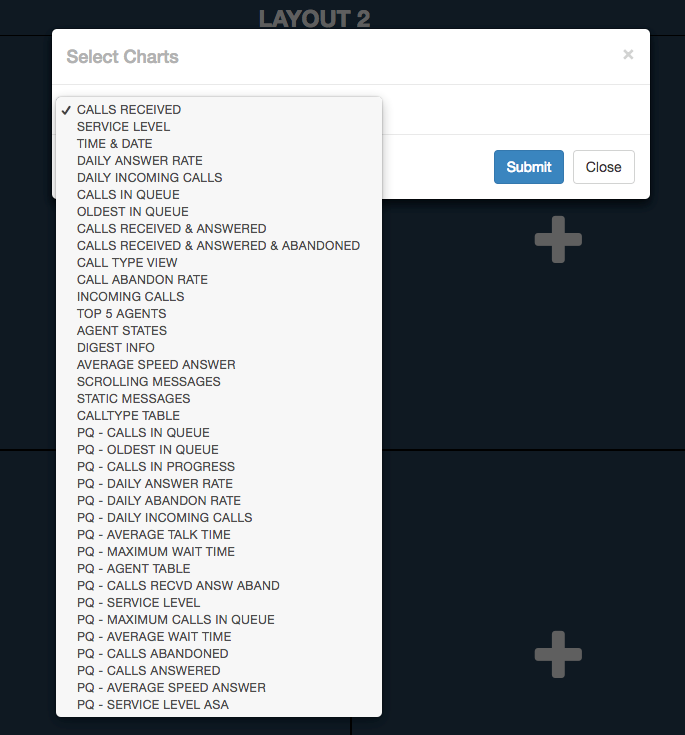
In our example, we use Layout 2, which allows us to add eight widgets;
Selecting Widgets
There is a long list of widgets currently available on Comstice Wallboard. Once you click on the + sign of each layout box, you will have the widget list as a dropdown. TCHP is using Precision Queuing, therefore please make sure that you are selecting the widgets starting with “PQ”. You can select any agent widgets, they are not dependant of the queues.
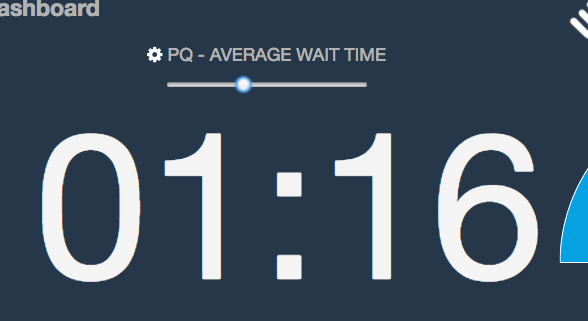
Adjusting Font Size
You can adjust the font size for almost all the widgets using the sliding adjustor.
When you click on the widget title, slider appears. You can then increase or decrease the font size.
Once the size is adjusted, you can click on the widget title again to hide the slider
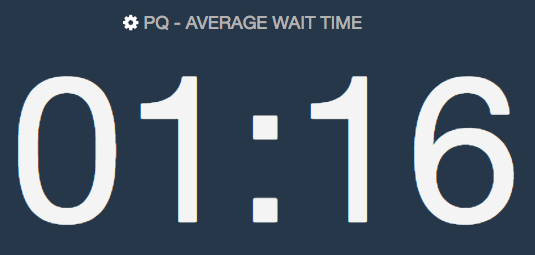
The font size is saved locally on each PC. Therefore sizing of a widget will not affect other users. Also the same size settings will be retained even after PC is restarted.
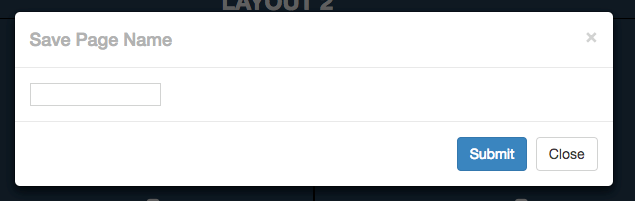
Once you selected all the widgets, added your company logo, you can save the layout by clicking on “Save Page” button.
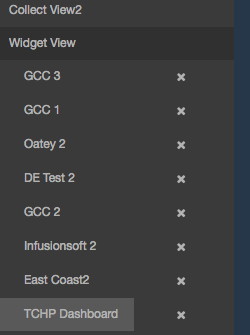
Once it is saved, you can see the new dashboard on the side menu under Widget View.
You can then click on the saved dashboard to access, also share the web URL of the new dashboard with colleagues, so that they can see the same view without any login.
Scrolling and Static Messages
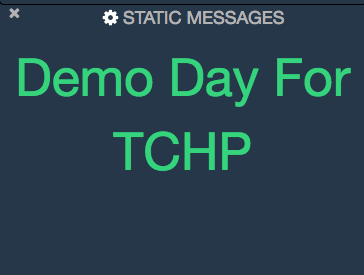
There are two widgets that you can create messages and announcements for your teams. Scrolling Messages and Static Message.
You can click on the setting button of Static Message and select the color and edit the message.
You can also click on the widget name and adjust the font size.
Scrolling messages are created per team in the “Alerts” section on the side menu.
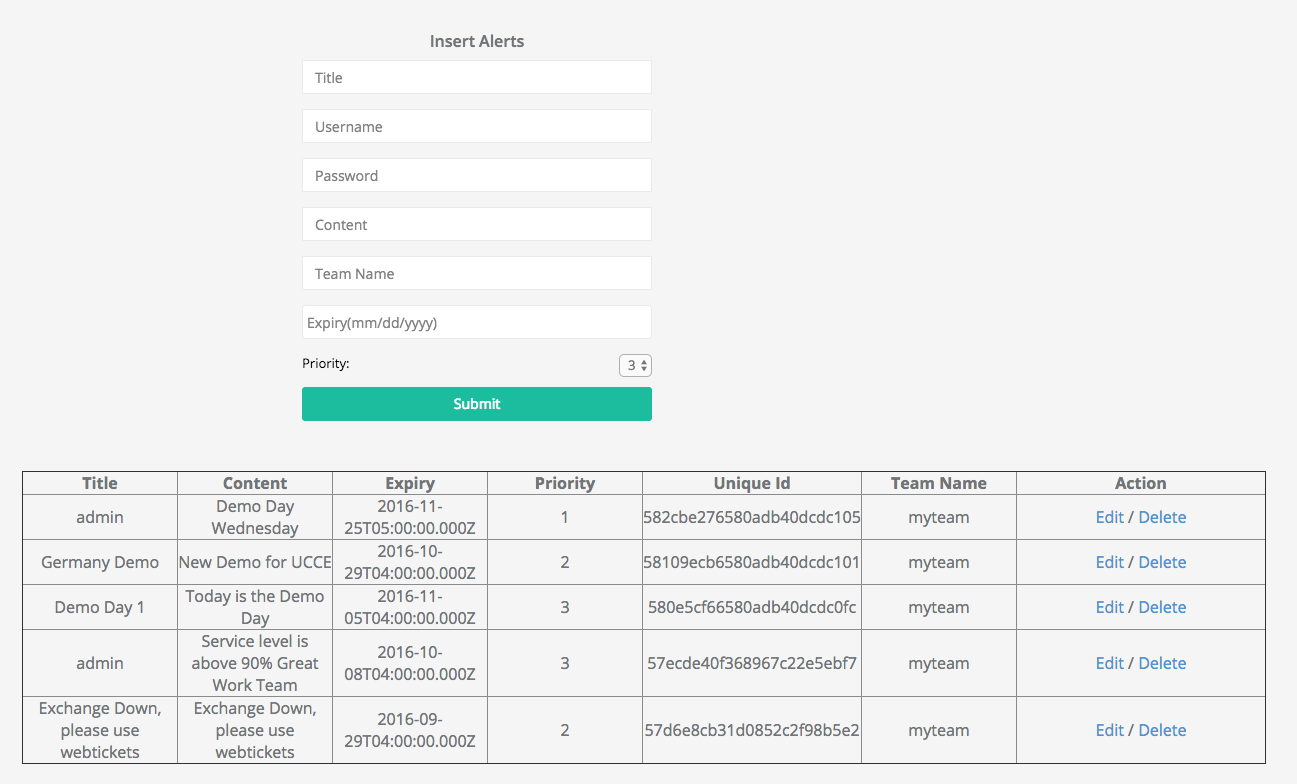
Username and password fields are currently not checked for the wallboard. Important fields are content and team name. In the Scrolling Messages widget, you will select the alerts based on the team name;
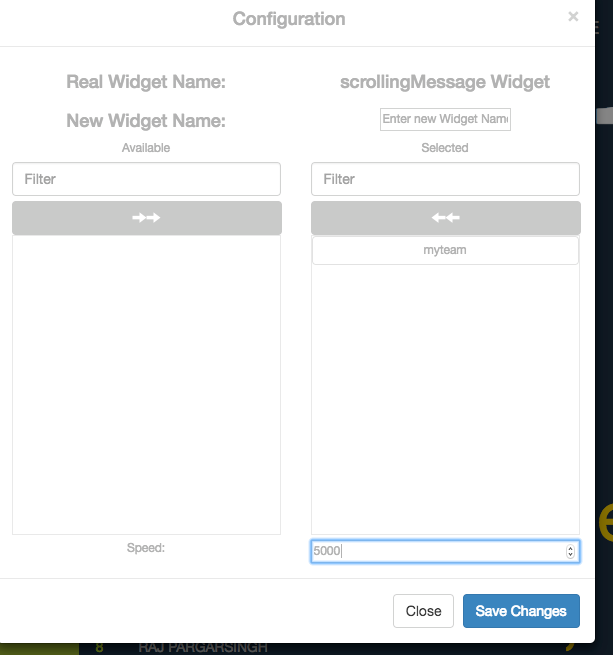
You can also adjust the slider speed from the settings. Slider speed is in miliseconds.
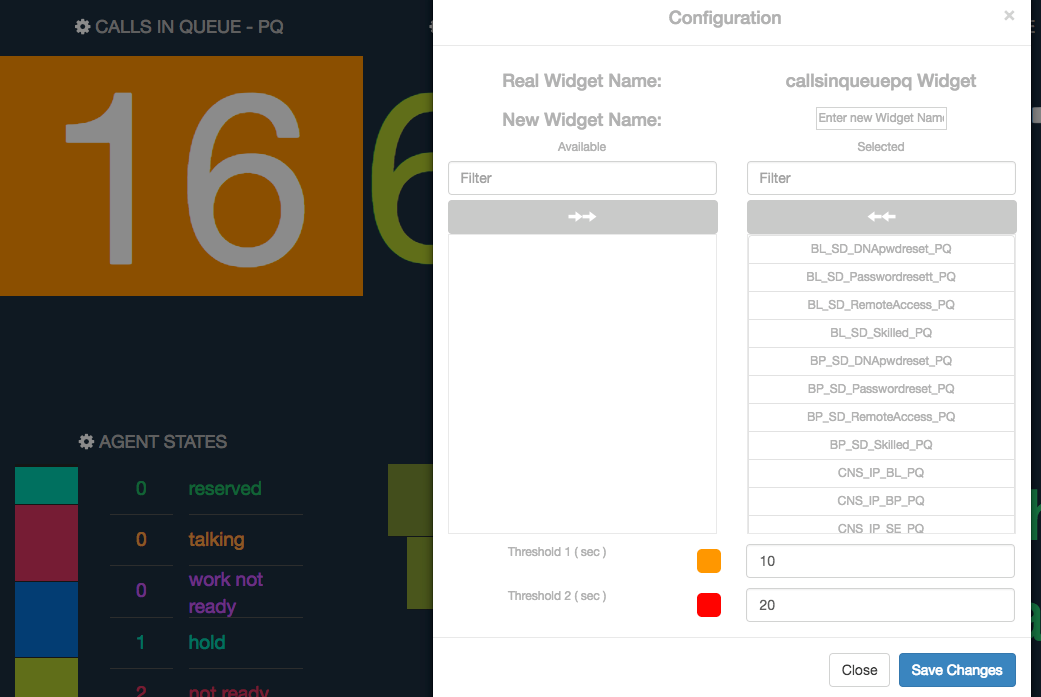
Adjusting Thresholds
Some widgets such as Calls in Queue and Oldest in Queue have an option to set threshold values so that the background will be color-coded and an audible alert will be played every 10 seconds (currently disabled).
Slider View <>If you would like to display multiple saved views on a single screen, you can use the Slider View feature. Once you access from the Side Menu, Slider View will run all the saved views as a slideshow. You can also set adjust the slider speed from the settings icon at the top of the screen. Slider view speed is in miliseconds.